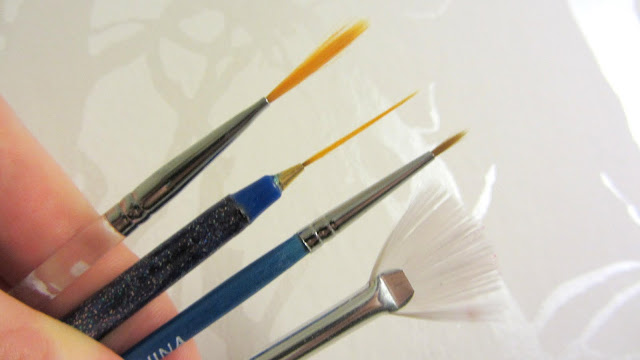
TIPS FOR PERFECT NAIL ART: HOW TO CLEAN YOUR BRUSHES
Whether your nail art is elaborate (think realistic flowers, portrait-style animals and full-on cityscapes) or whether it’s more simple like dots, lines and hearts, chances are that you’re using a professional nail art brush set to make it happen. And if you’re not, you should be!
But nail art brushes aren’t any different than makeup brushes when it comes to maintenance. If you don’t take care of them, they won’t take care of you. What’s the best way to clean a nail art brush so that it not only lasts forever but also gives you perfect nail detail every time? Here’s the step-by-step.
What You’ll Need
Your Dirty Brushes: Don’t start until you’ve gotten all of your dirty brushes into one spot. You don’t want to do this, clean up and then realize that you missed a brush.
Nail Polish Thinner or Remover: Most professional nail artists are going to recommend that you use a nail polish thinner rather than a remover. Removers are usually acetone based and are going to be rough on your brushes and ultimately decrease their lifespan. But if you don’t want to invest in a nail polish thinner (Orly makes a great one), you can use nail polish remover instead. Just keep in mind that over time the nail polish remover will eat away at the glue on your brushes and the bristles will fall out.
A Disposable Plastic Cup or Plate: Yes, we know. It’s bad for the environment. But once your plastic is stained with nail polish you won’t be able to use it again. Just remember to put that cup or plate in the recycling bin!
A Piece of Paper: Clean, white and not printed on.
Pro Tip: Don’t Waste Time! This process will still work with entirely dry polish, but it’s most effective if the polish is still a little bit wet. Procrastination is nobody’s friend. Stop staring at your perfect nails and clean your brushes!

Dip your brush in and swirl it around.
Wipe the brush on the piece of paper to remove the color.
Repeat as needed until your brush is clean!
You’ll also want to be sure to reshape your brush when you’re done cleaning it. Just fold the paper over and use it to reshape the brush.
Pro Tip: DO NOT run your brushes under water after you’ve used nail polish thinner. It will cause the nail thinner to ball up and stick inside the brush. Gross!
Your Dirty Brushes: Don’t start until you’ve gotten all of your dirty brushes into one spot. You don’t want to do this, clean up and then realize that you missed a brush.
Nail Polish Thinner or Remover: Most professional nail artists are going to recommend that you use a nail polish thinner rather than a remover. Removers are usually acetone based and are going to be rough on your brushes and ultimately decrease their lifespan. But if you don’t want to invest in a nail polish thinner (Orly makes a great one), you can use nail polish remover instead. Just keep in mind that over time the nail polish remover will eat away at the glue on your brushes and the bristles will fall out.
A Disposable Plastic Cup or Plate: Yes, we know. It’s bad for the environment. But once your plastic is stained with nail polish you won’t be able to use it again. Just remember to put that cup or plate in the recycling bin!
A Piece of Paper: Clean, white and not printed on.
Pro Tip: Don’t Waste Time! This process will still work with entirely dry polish, but it’s most effective if the polish is still a little bit wet. Procrastination is nobody’s friend. Stop staring at your perfect nails and clean your brushes!

Now, Cleaning Your Brushes is So Easy!
Just add a few drops of nail polish thinner to your plastic surface.Dip your brush in and swirl it around.
Wipe the brush on the piece of paper to remove the color.
Repeat as needed until your brush is clean!
You’ll also want to be sure to reshape your brush when you’re done cleaning it. Just fold the paper over and use it to reshape the brush.
Pro Tip: DO NOT run your brushes under water after you’ve used nail polish thinner. It will cause the nail thinner to ball up and stick inside the brush. Gross!


Comments
Post a Comment